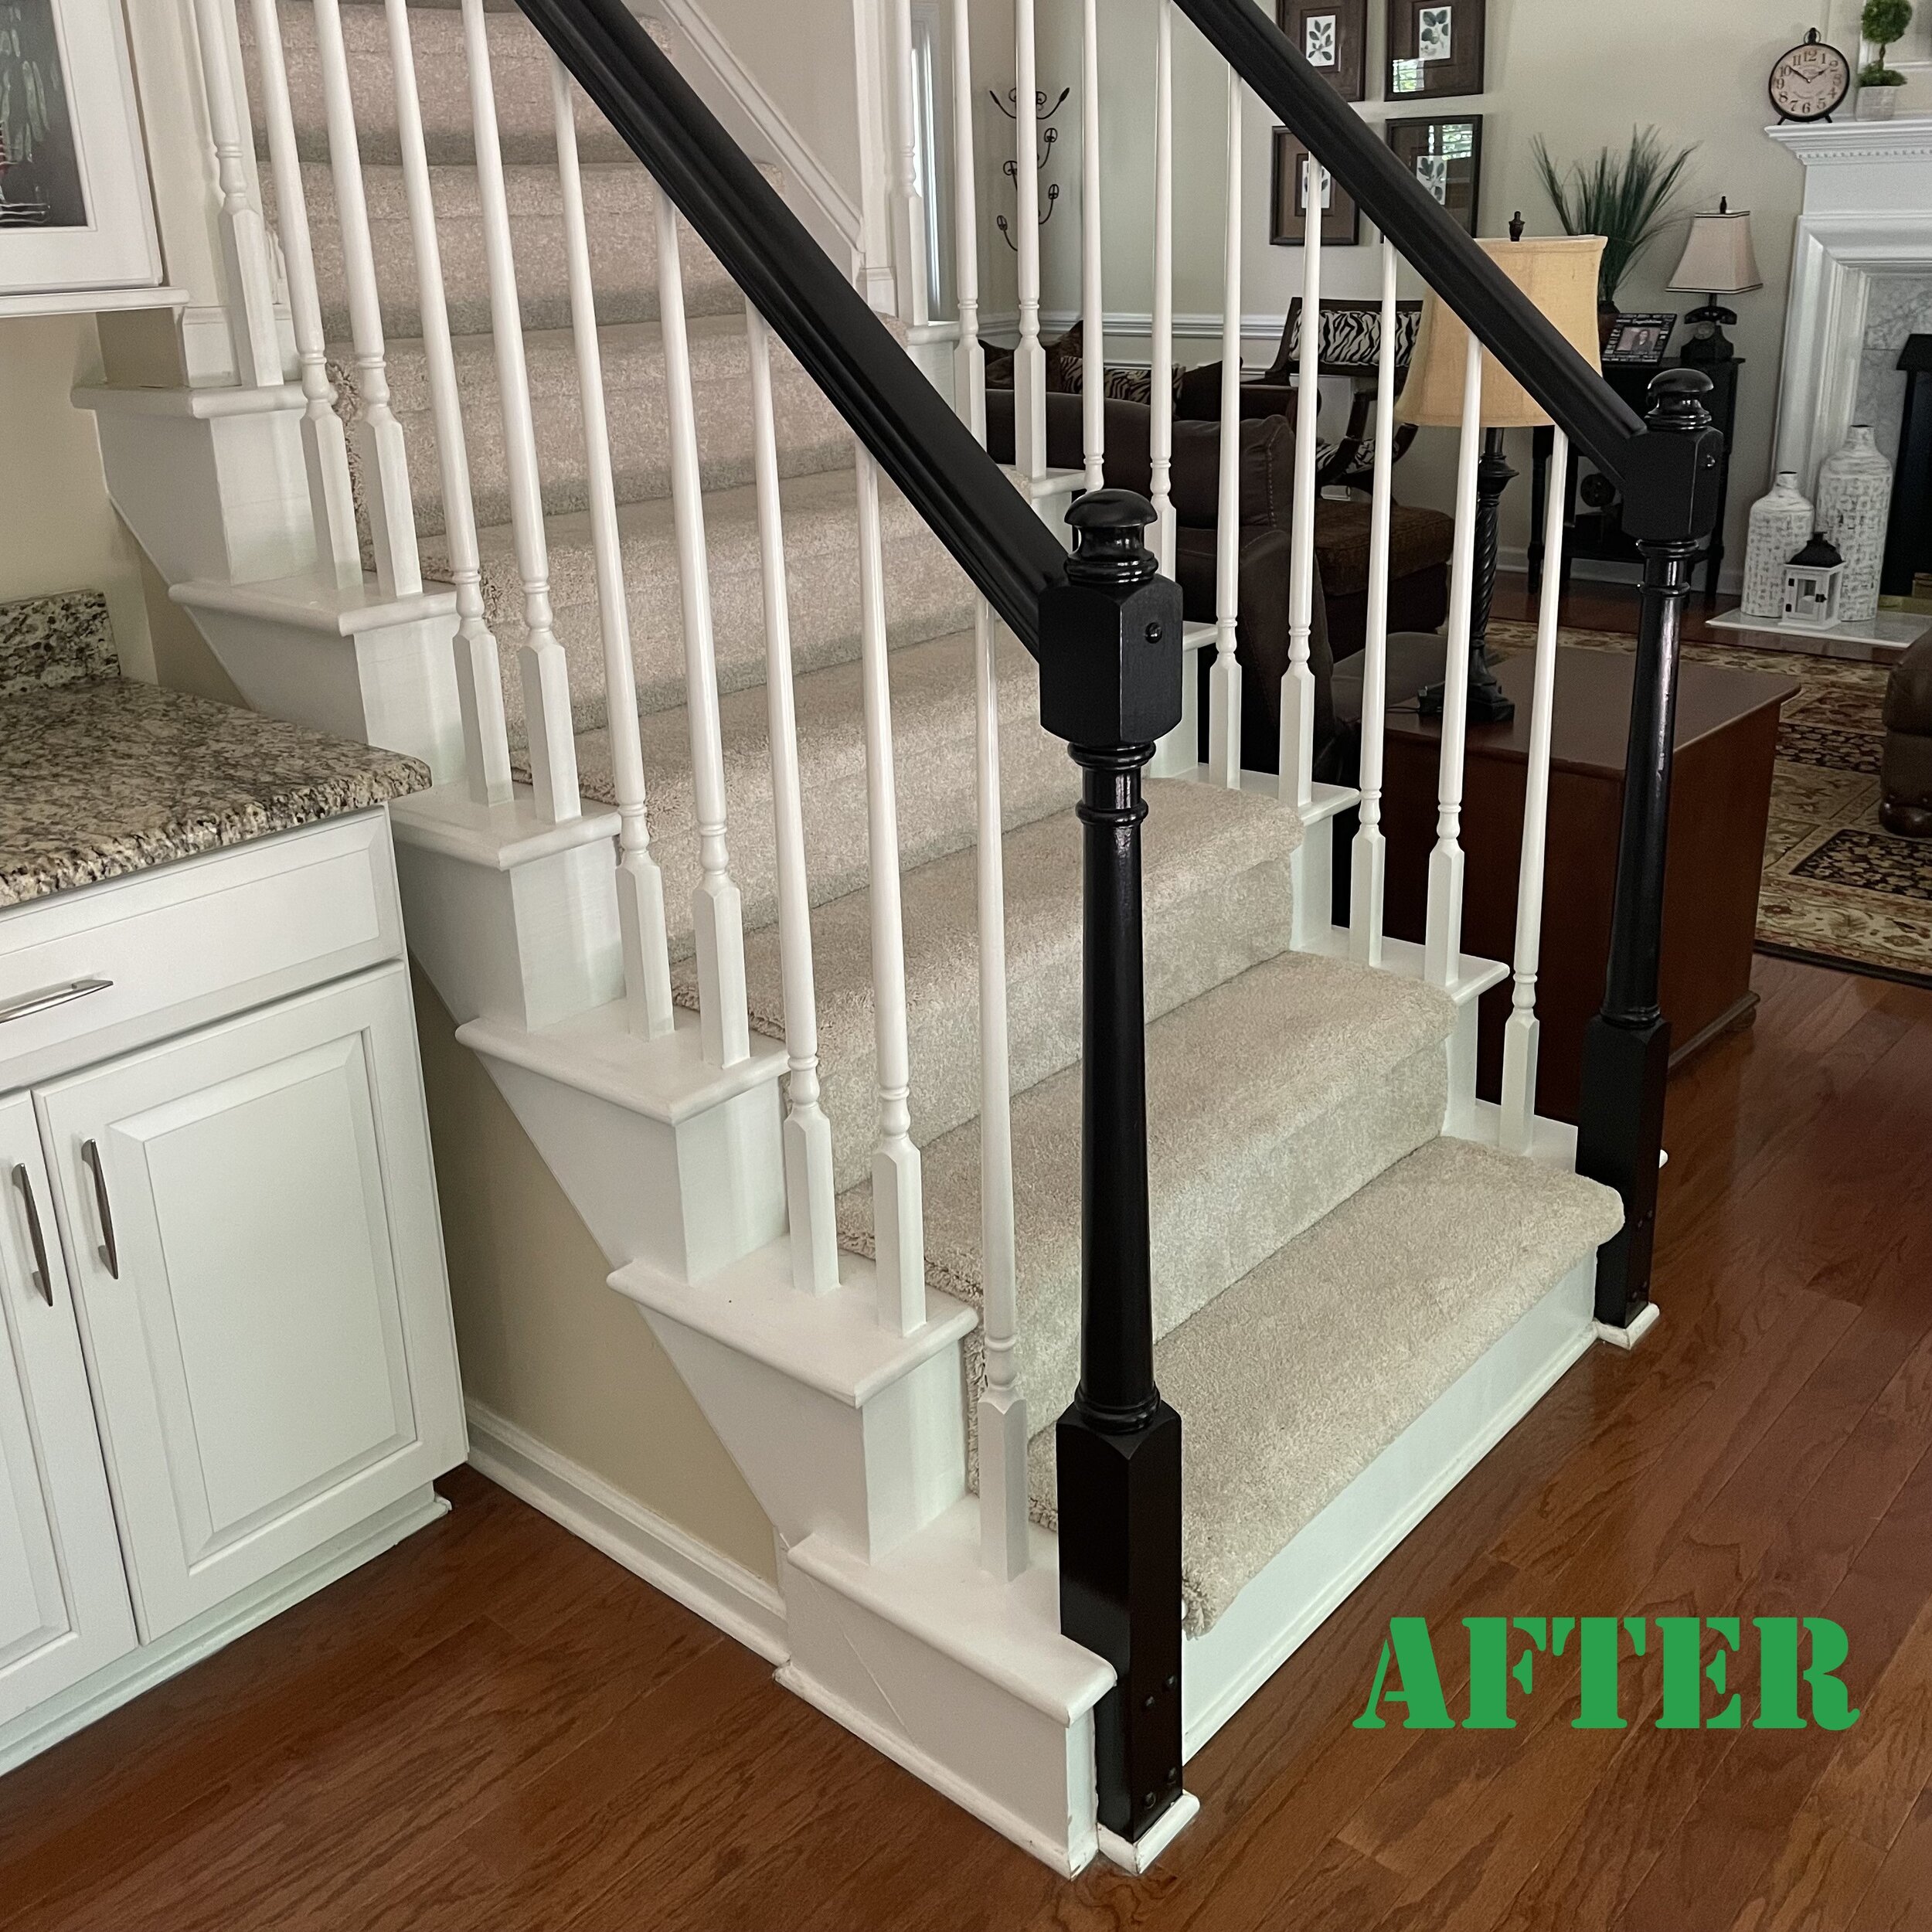
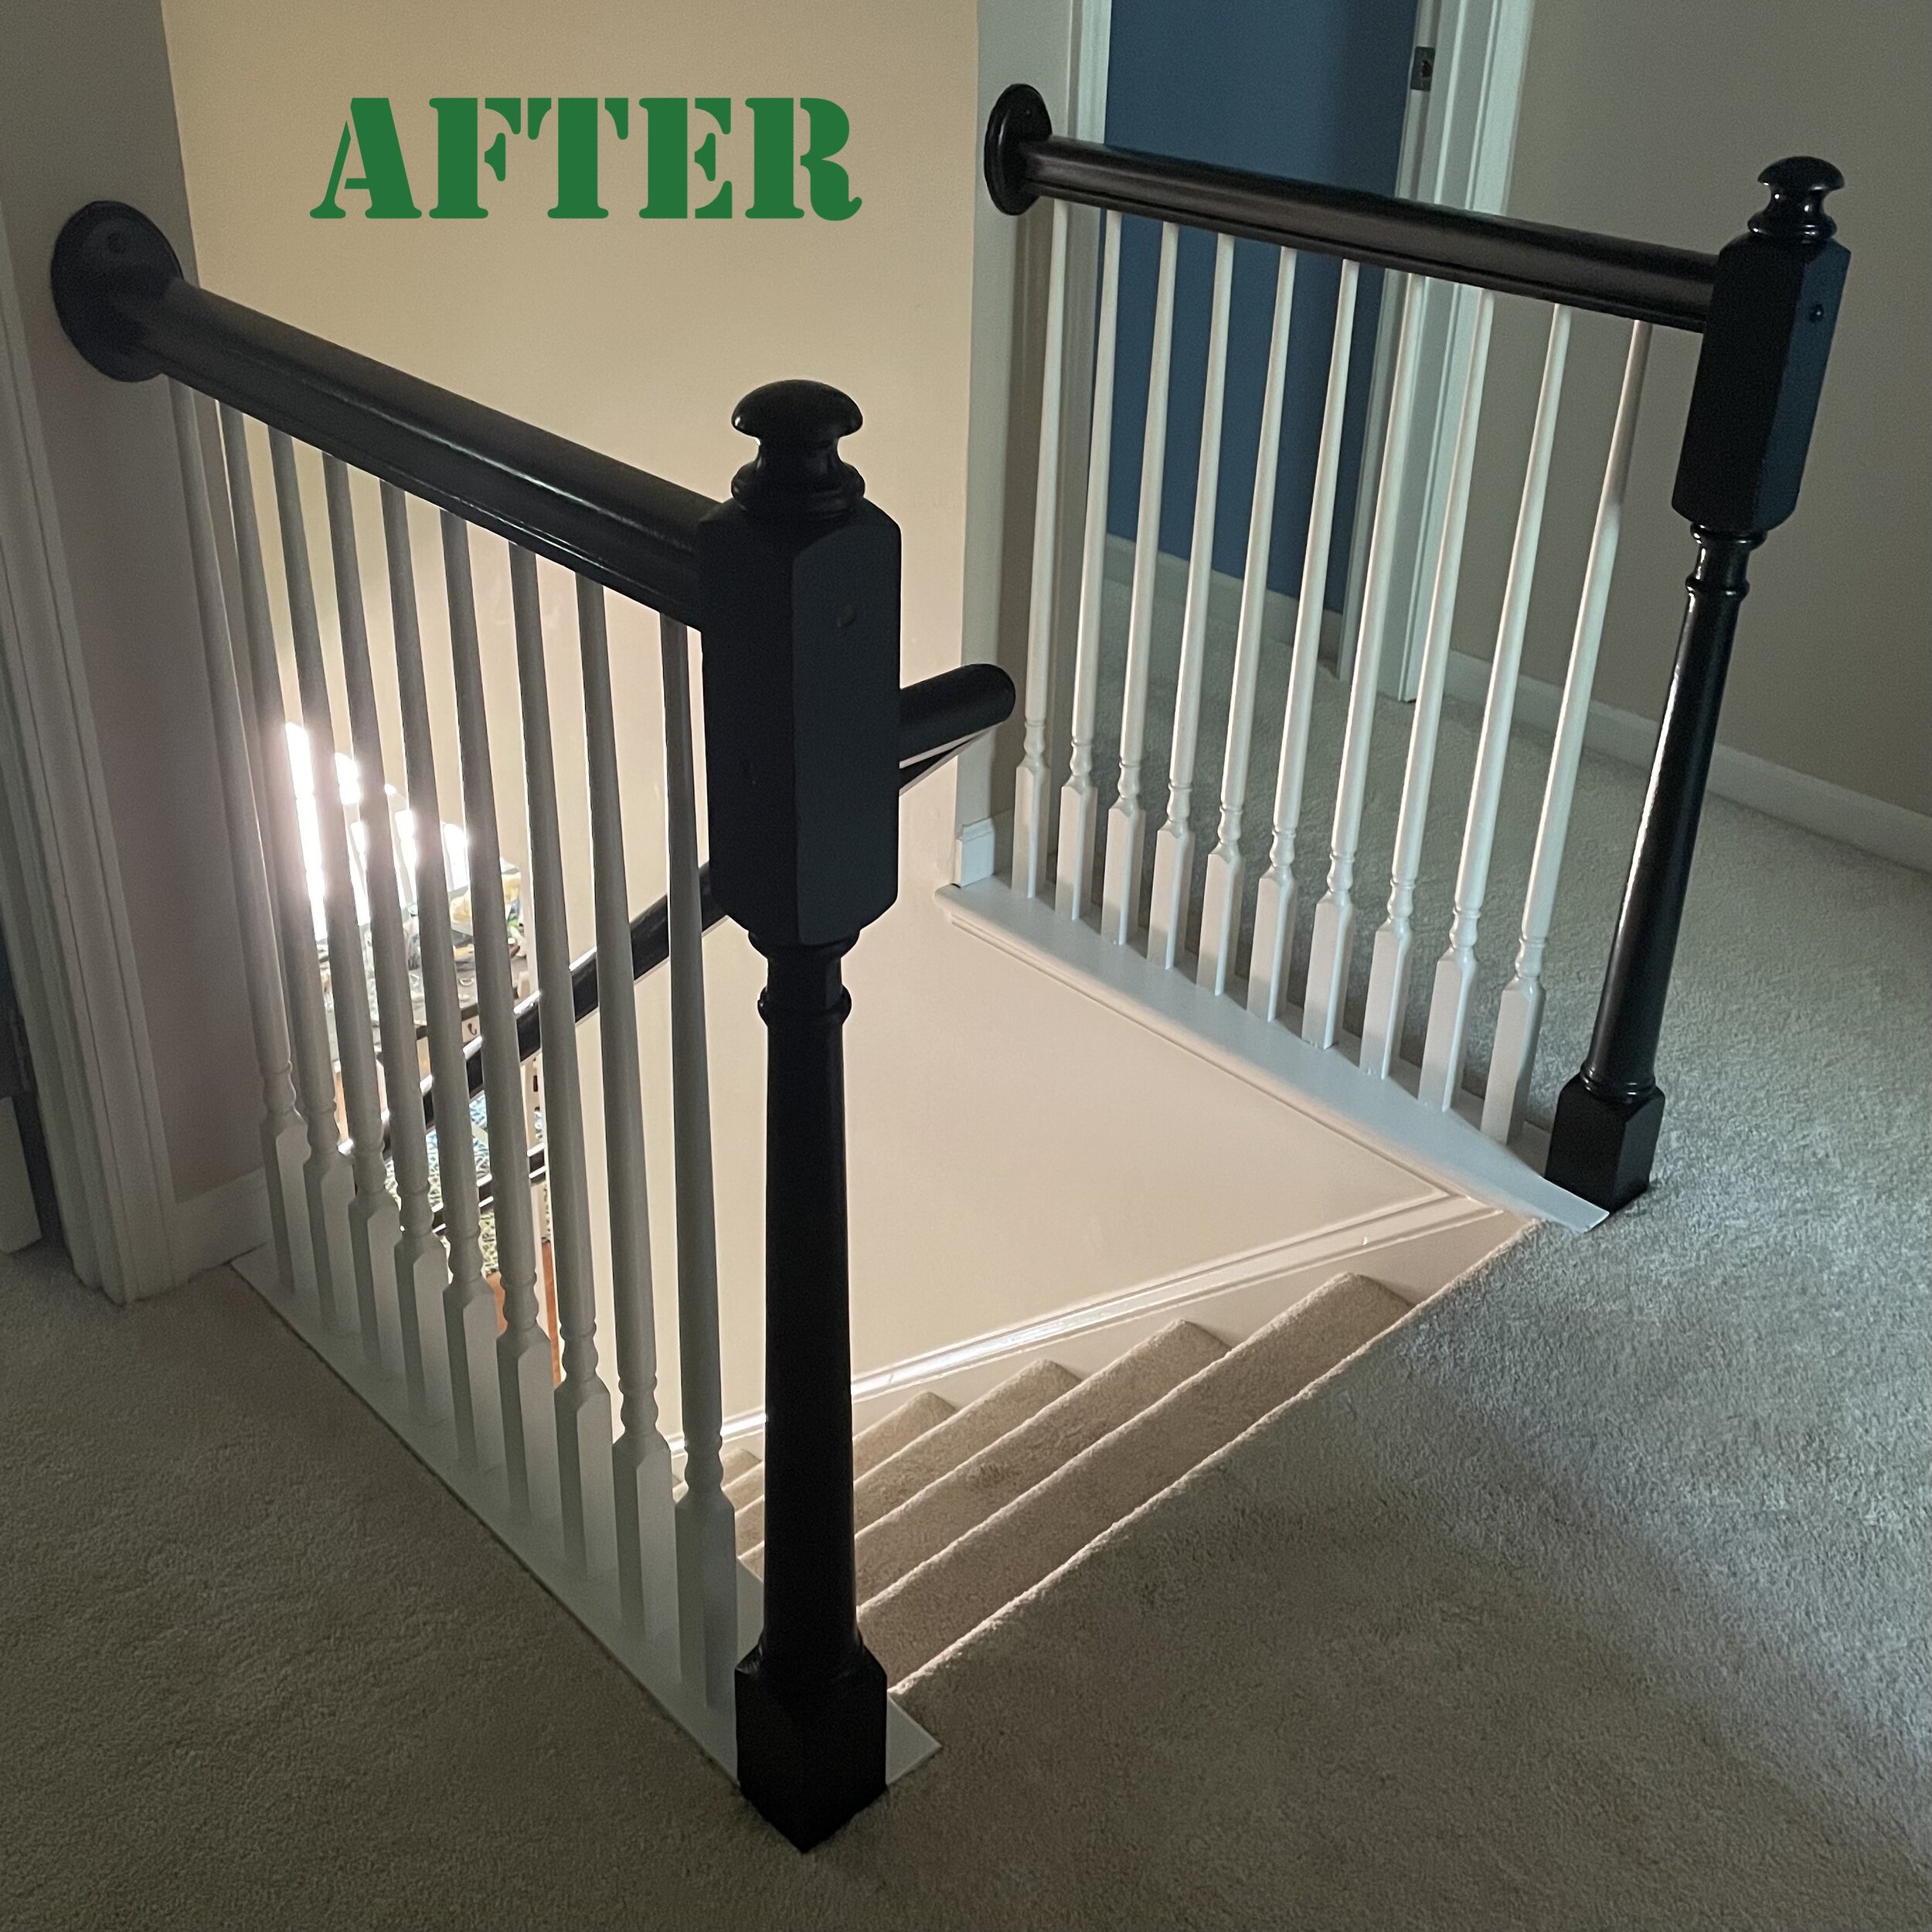
How to Transform Your Oak Staircase

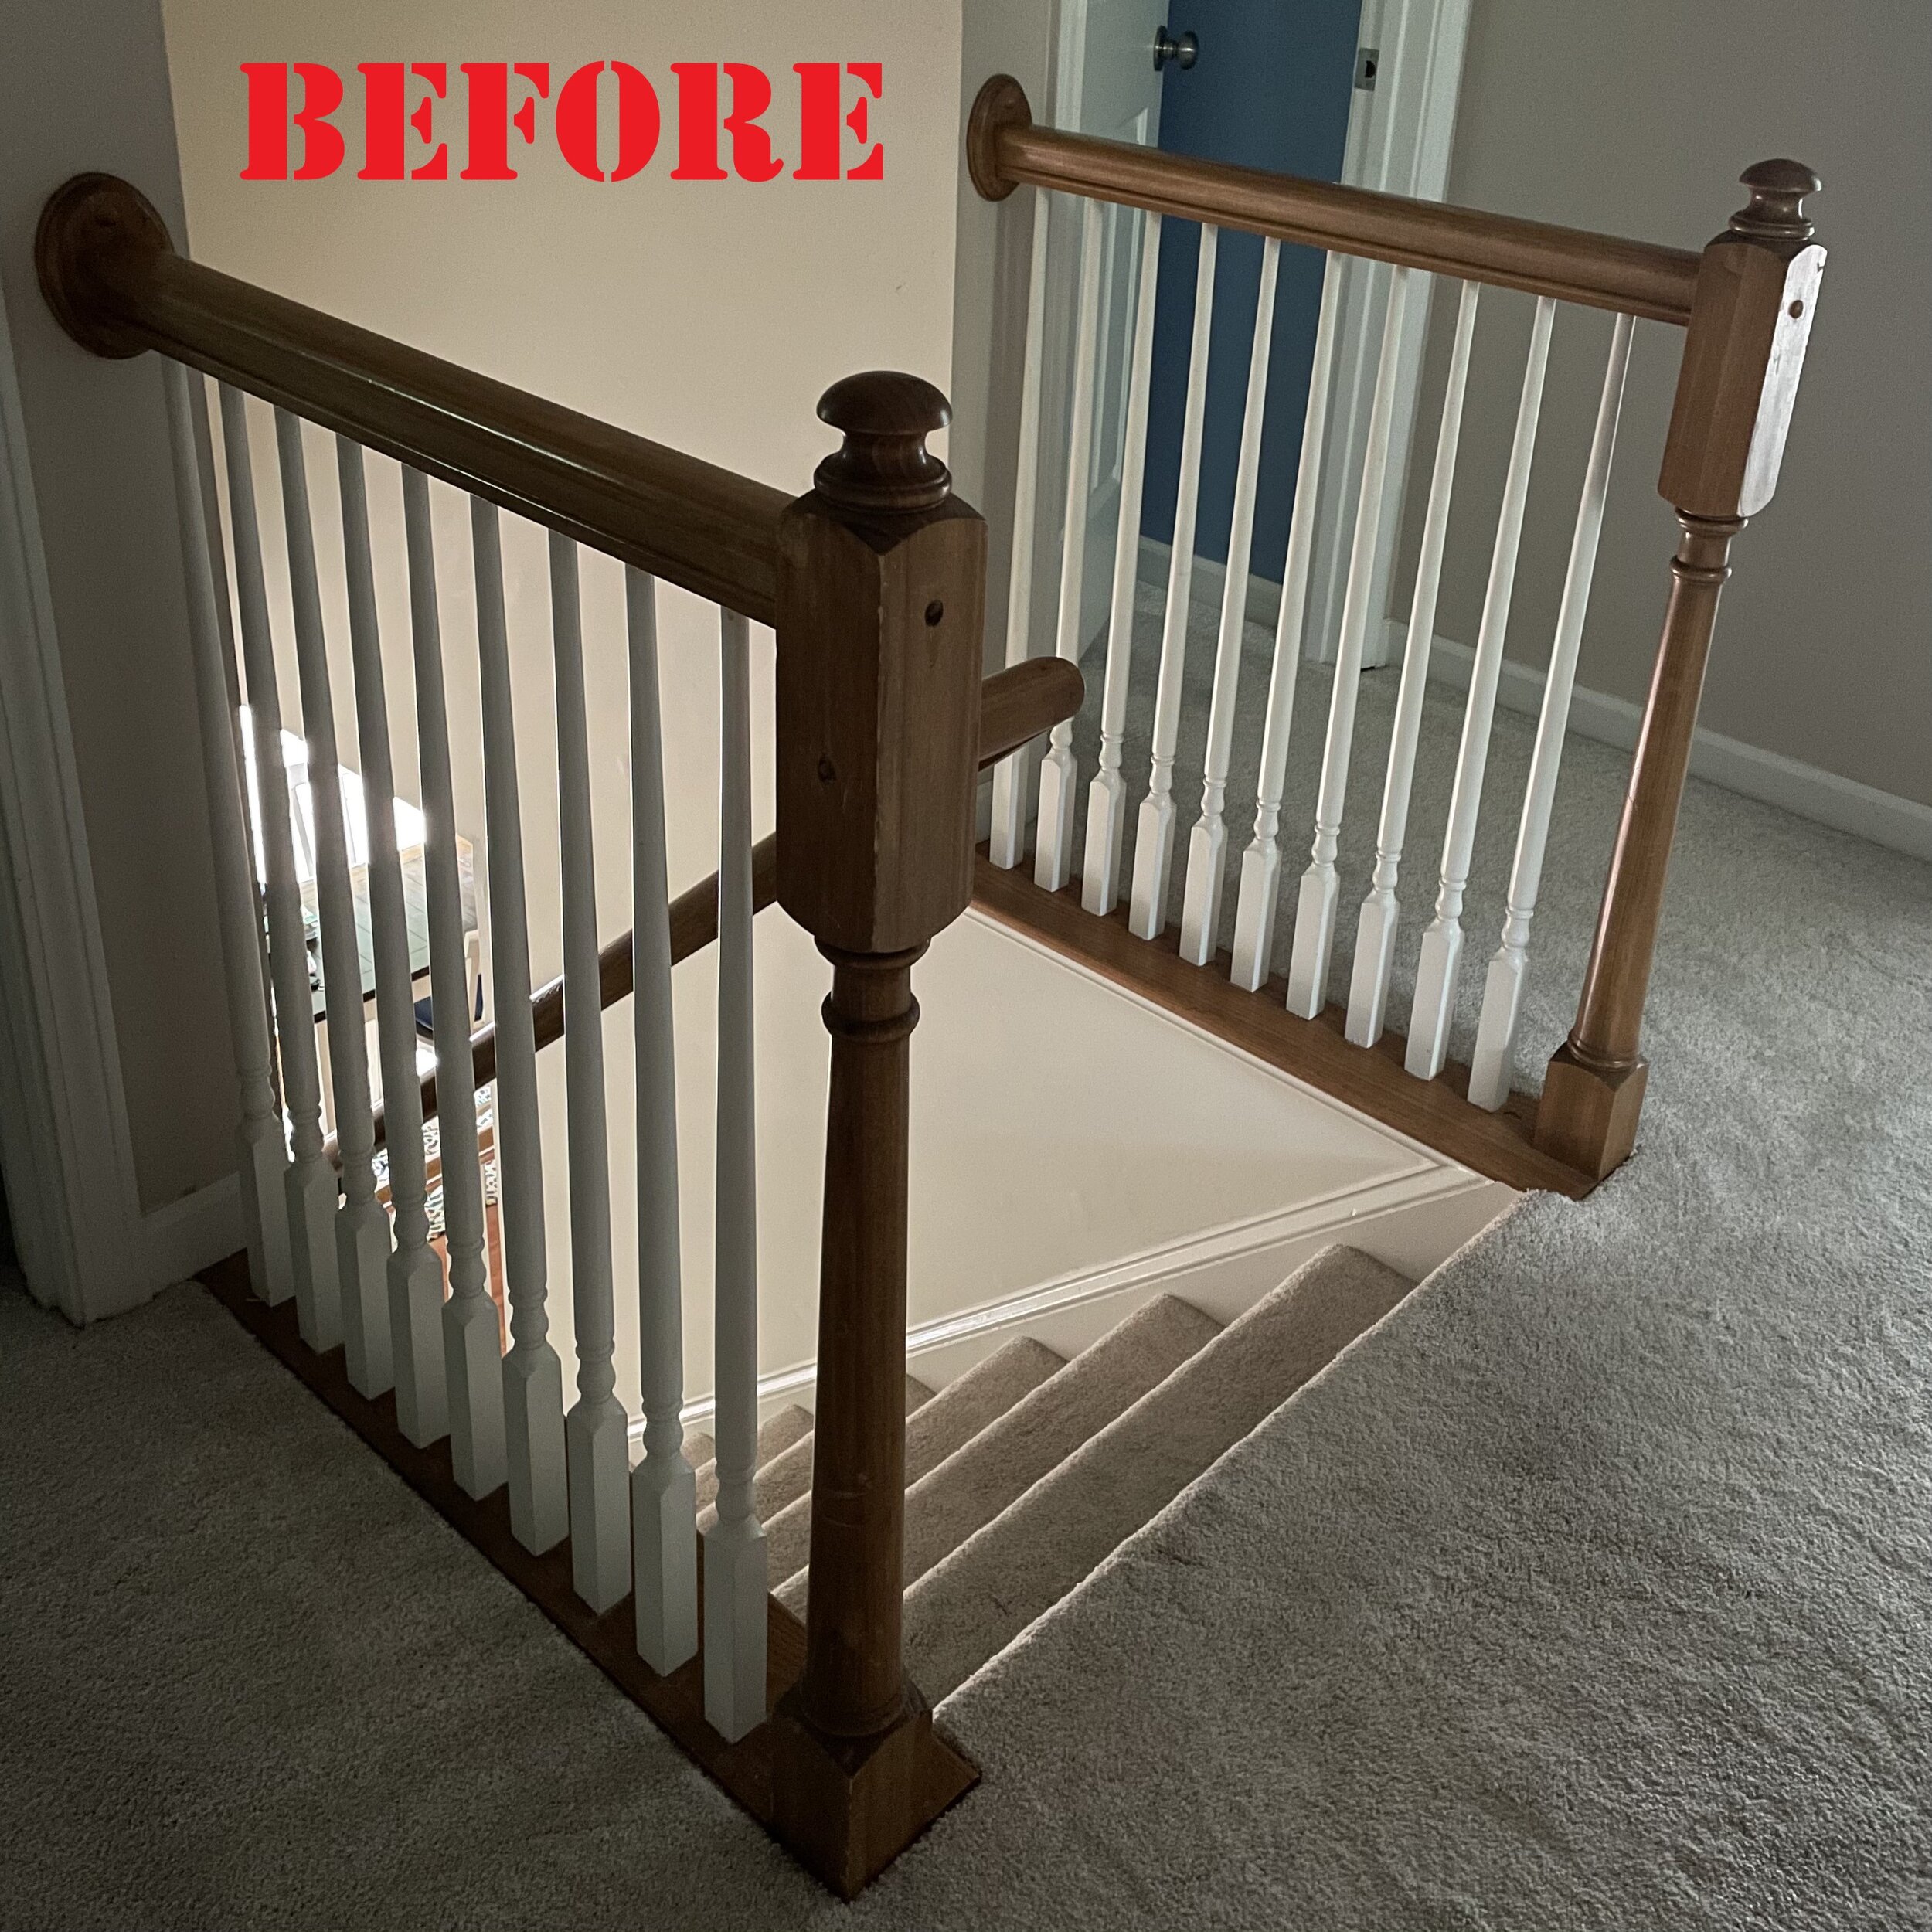
This project has been a long-time coming for my husband and I. The staircase was the last place in our home that still revealed the 90’s oak wood and was very out of place with the décor and other finishing’s. It was in dire need of an update. As always, life is busy and it’s been close to five years since we first mentioned painting them. Well, I guess I got a spark of confidence, a burst of energy and motivation to surprise my husband for his birthday. Yes, I alone decided to tackle the staircase painting! 💪💪💪 Was I crazy? Was it too much of a project to handle? “How bad could it be?” I thought to myself. So one day when the kids were away and my husband was on a long day of work, I decided to take a trip to the home improvement store and dive right in. Note: I was kidding myself that I could finish this project in one day and surprise my husband. This project took a little over two days to do the right way, so allow yourself some time.
Keep reading to find out how to transform your stairs and bring them out of the 90’s for good. If I can do it, you can too!😉 Wait! Before we get started, I want to thank my dad for equipping me with the skills, knowledge and confidence to tackle a home improvement project like this….THANKS DAD, love you!
Let’s Begin!
Materials needed:

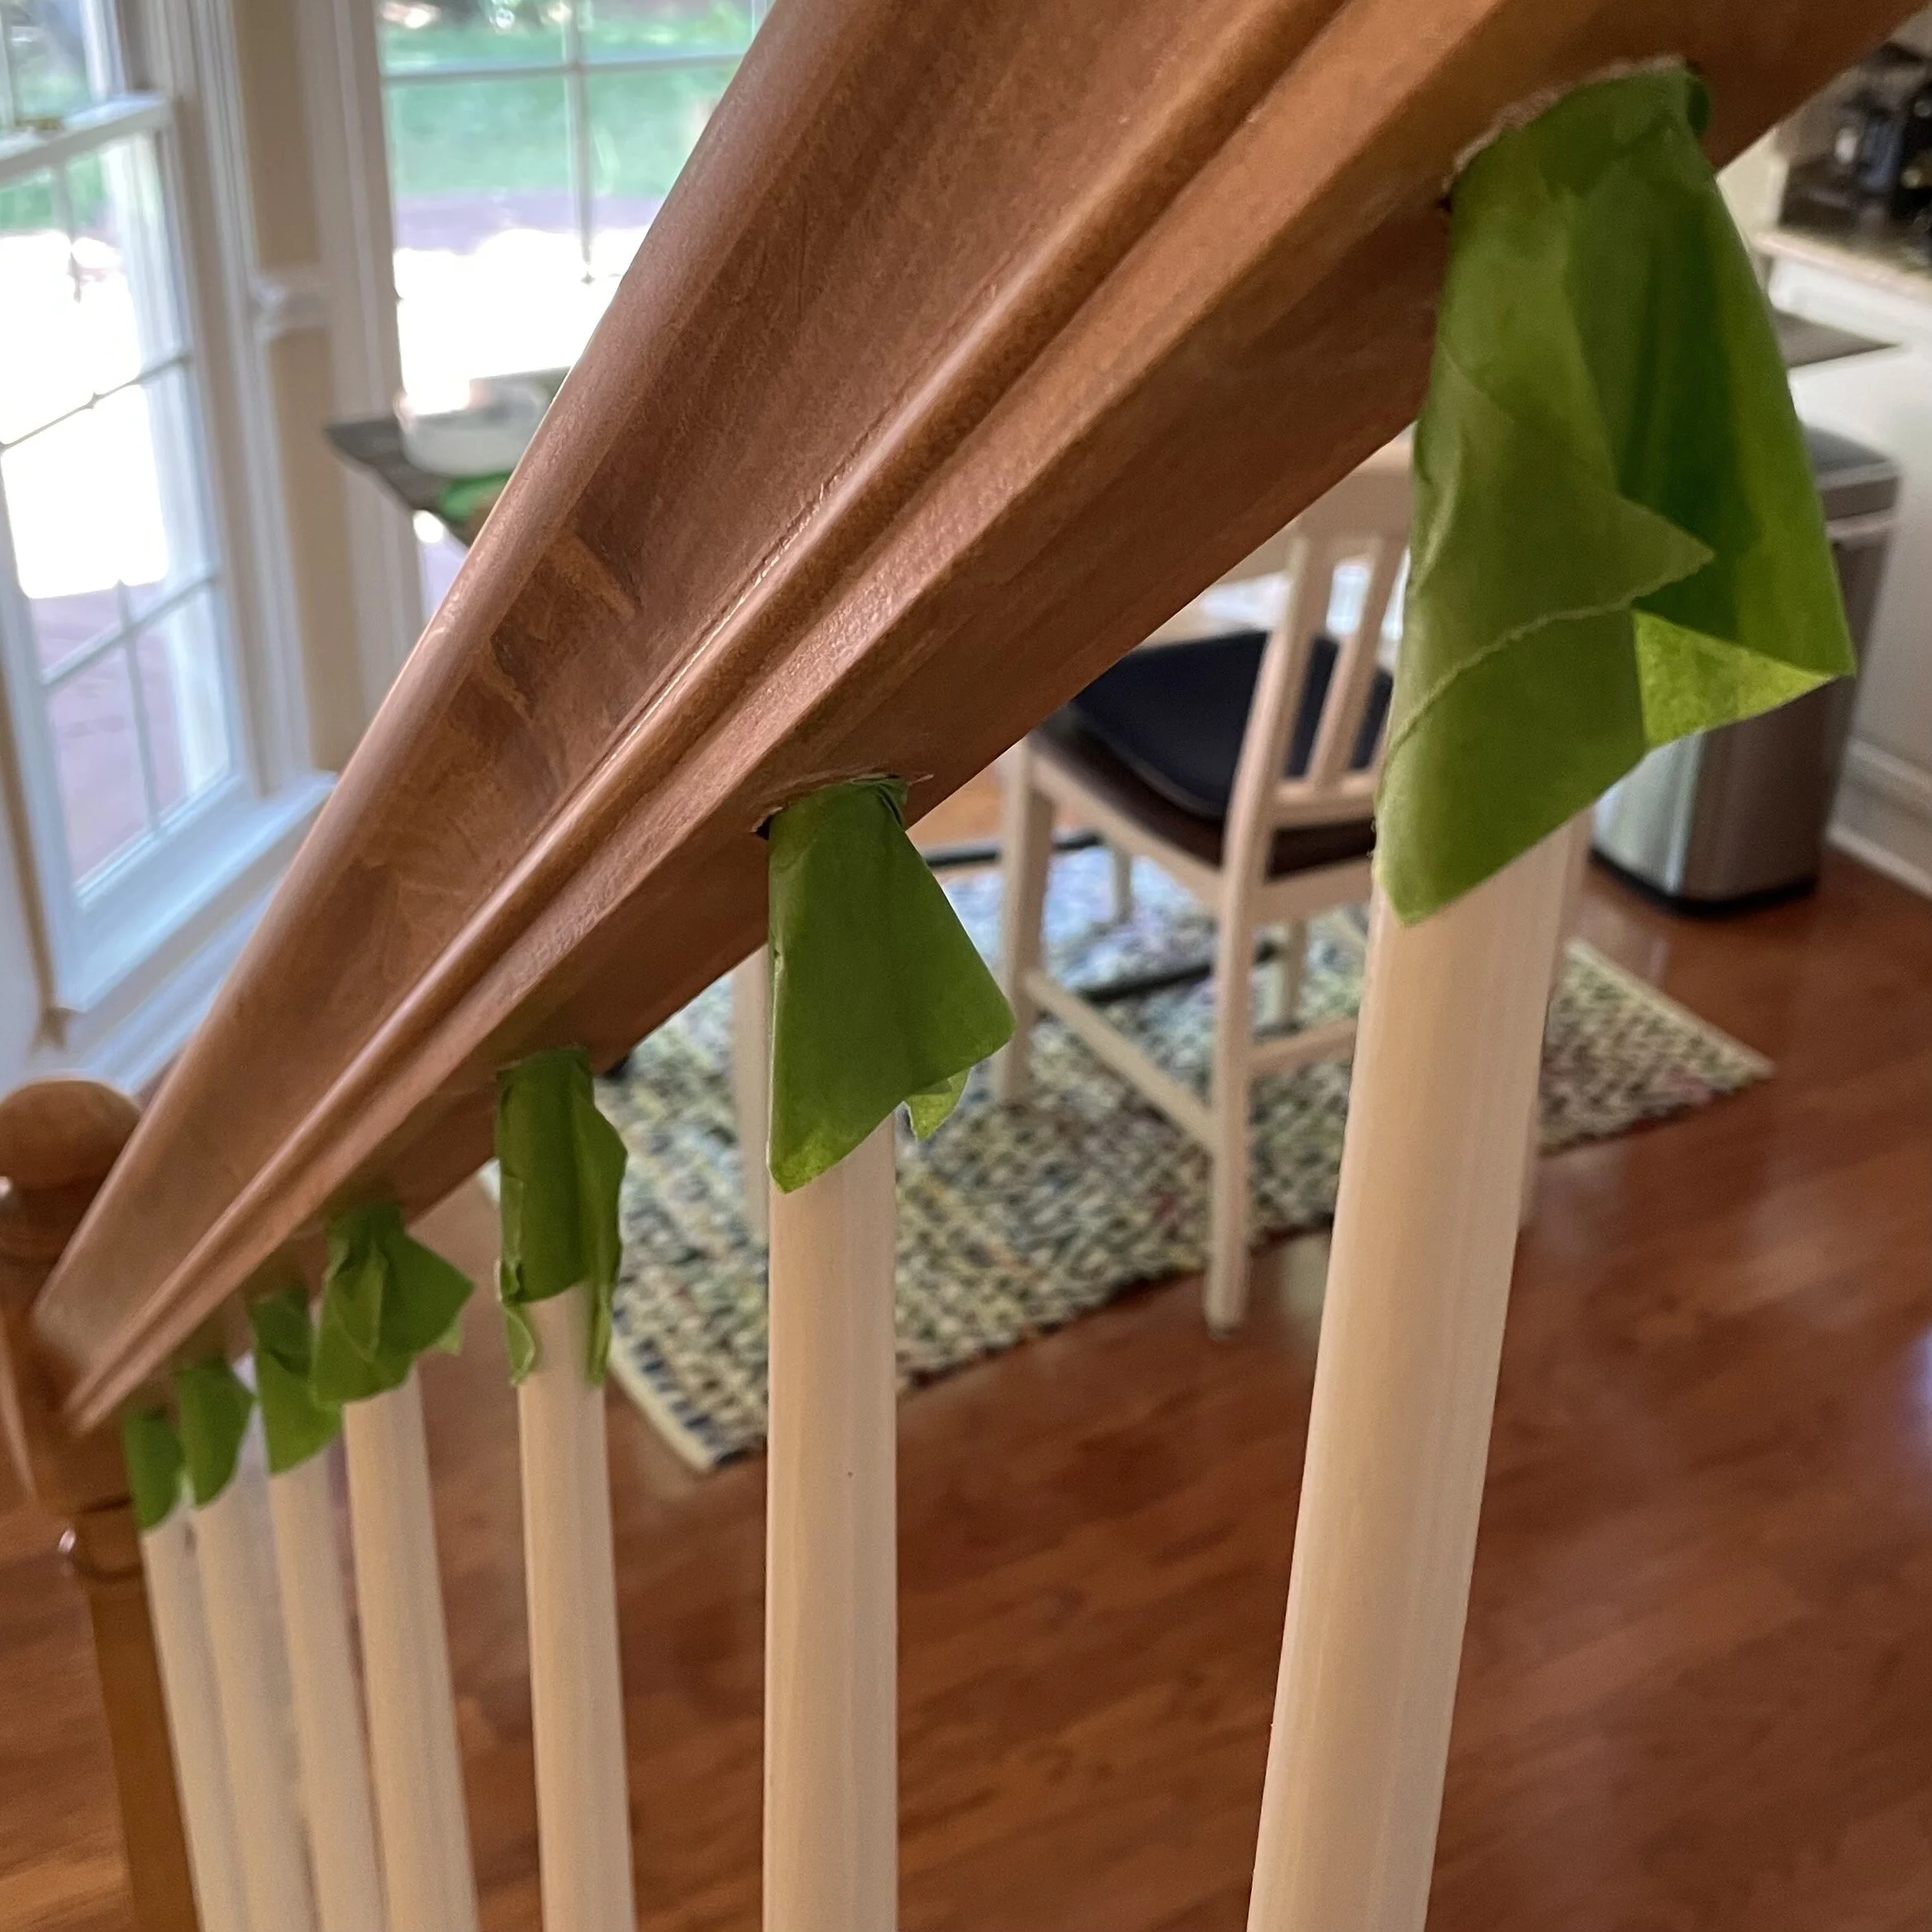
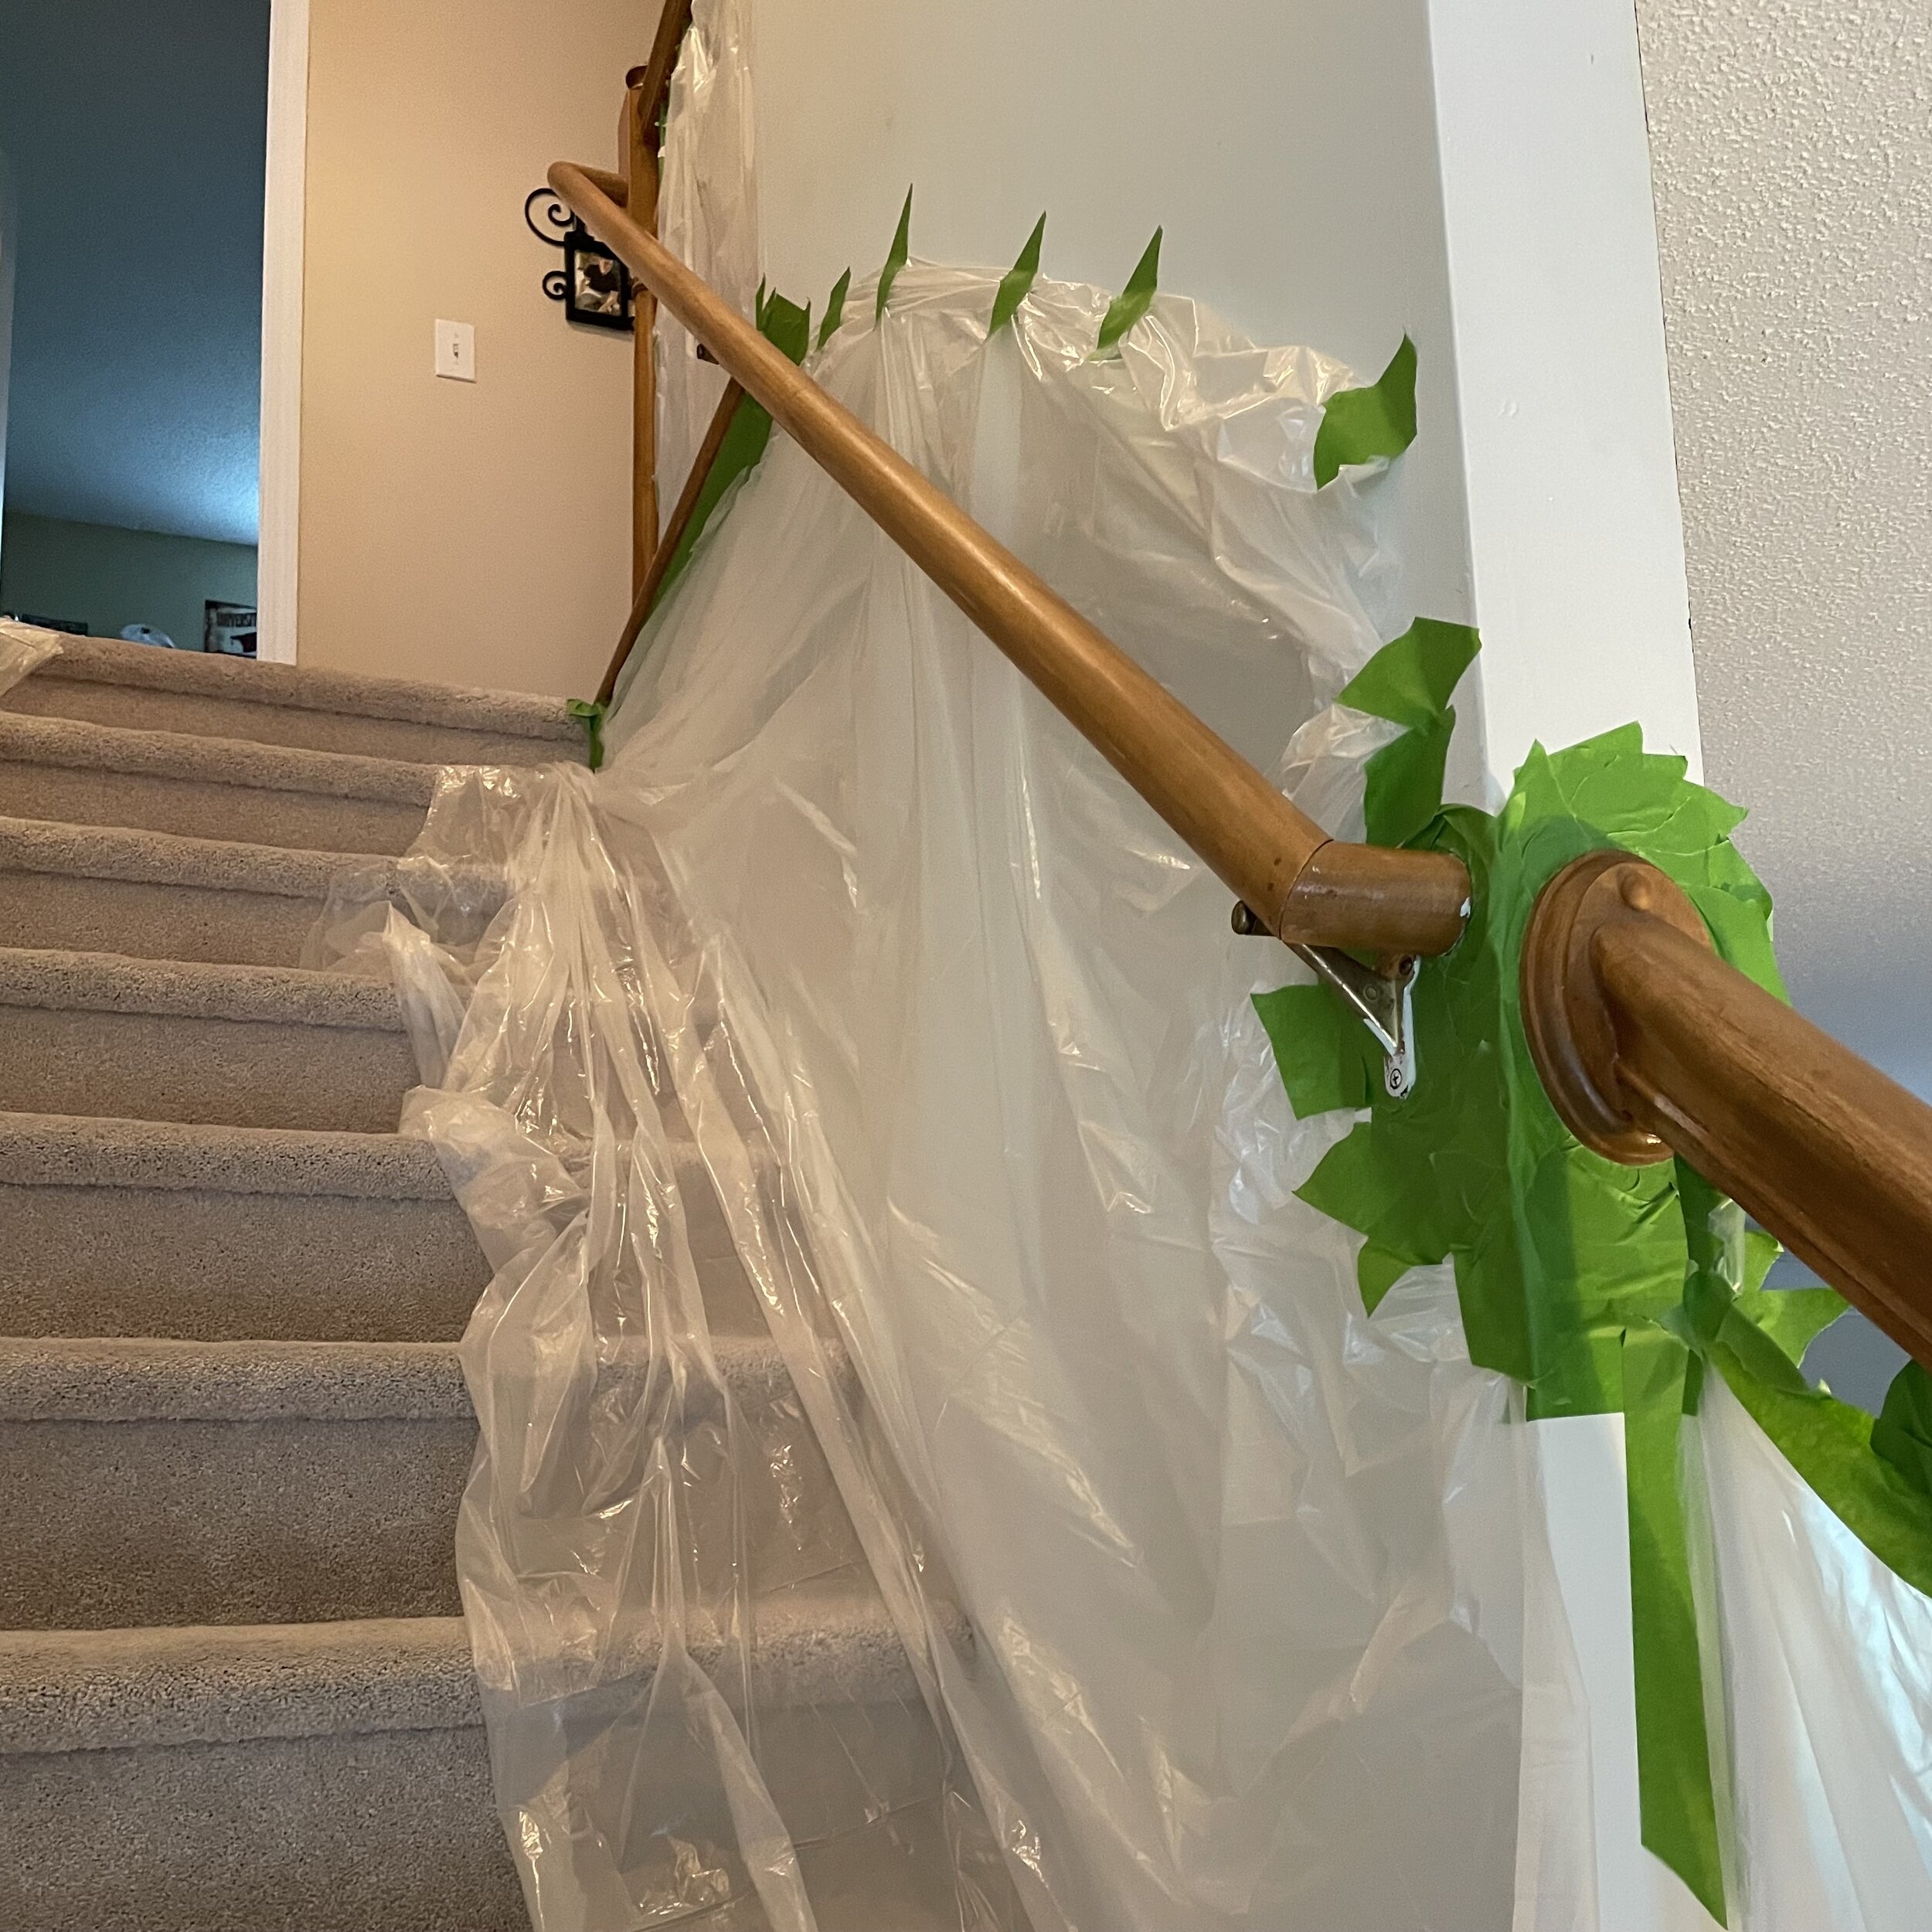
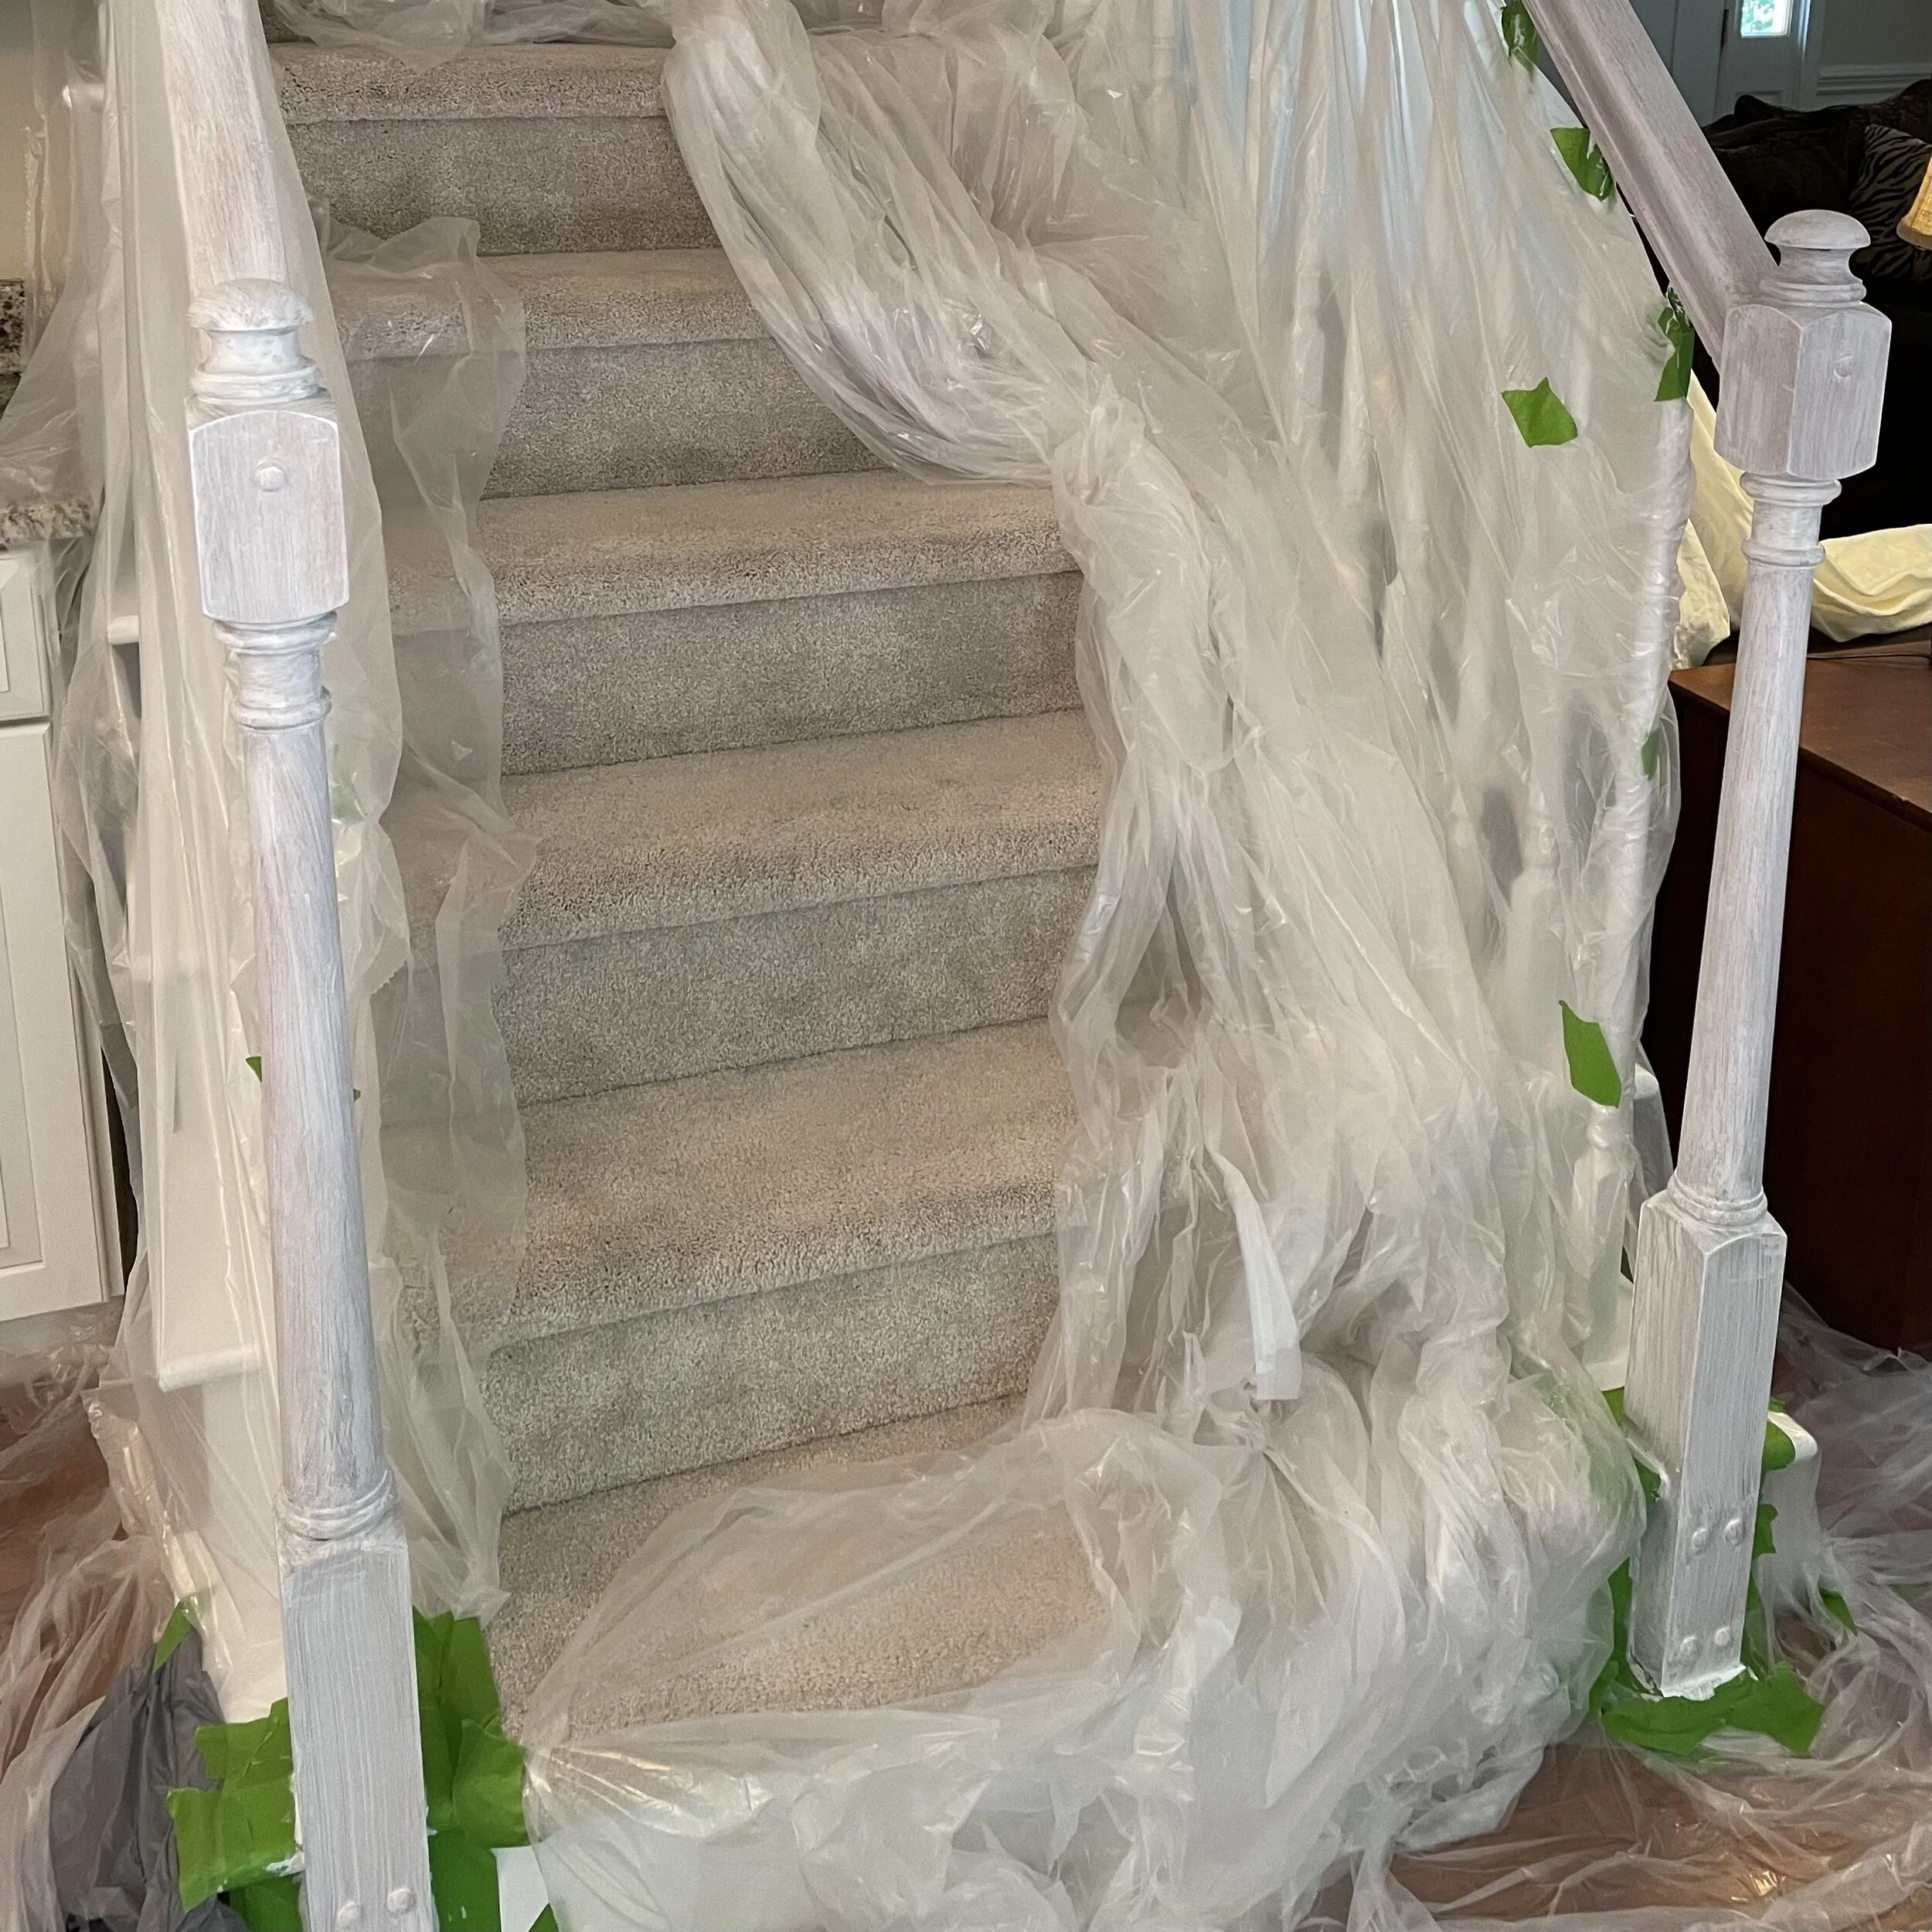
Frog Tape
Drop cloths
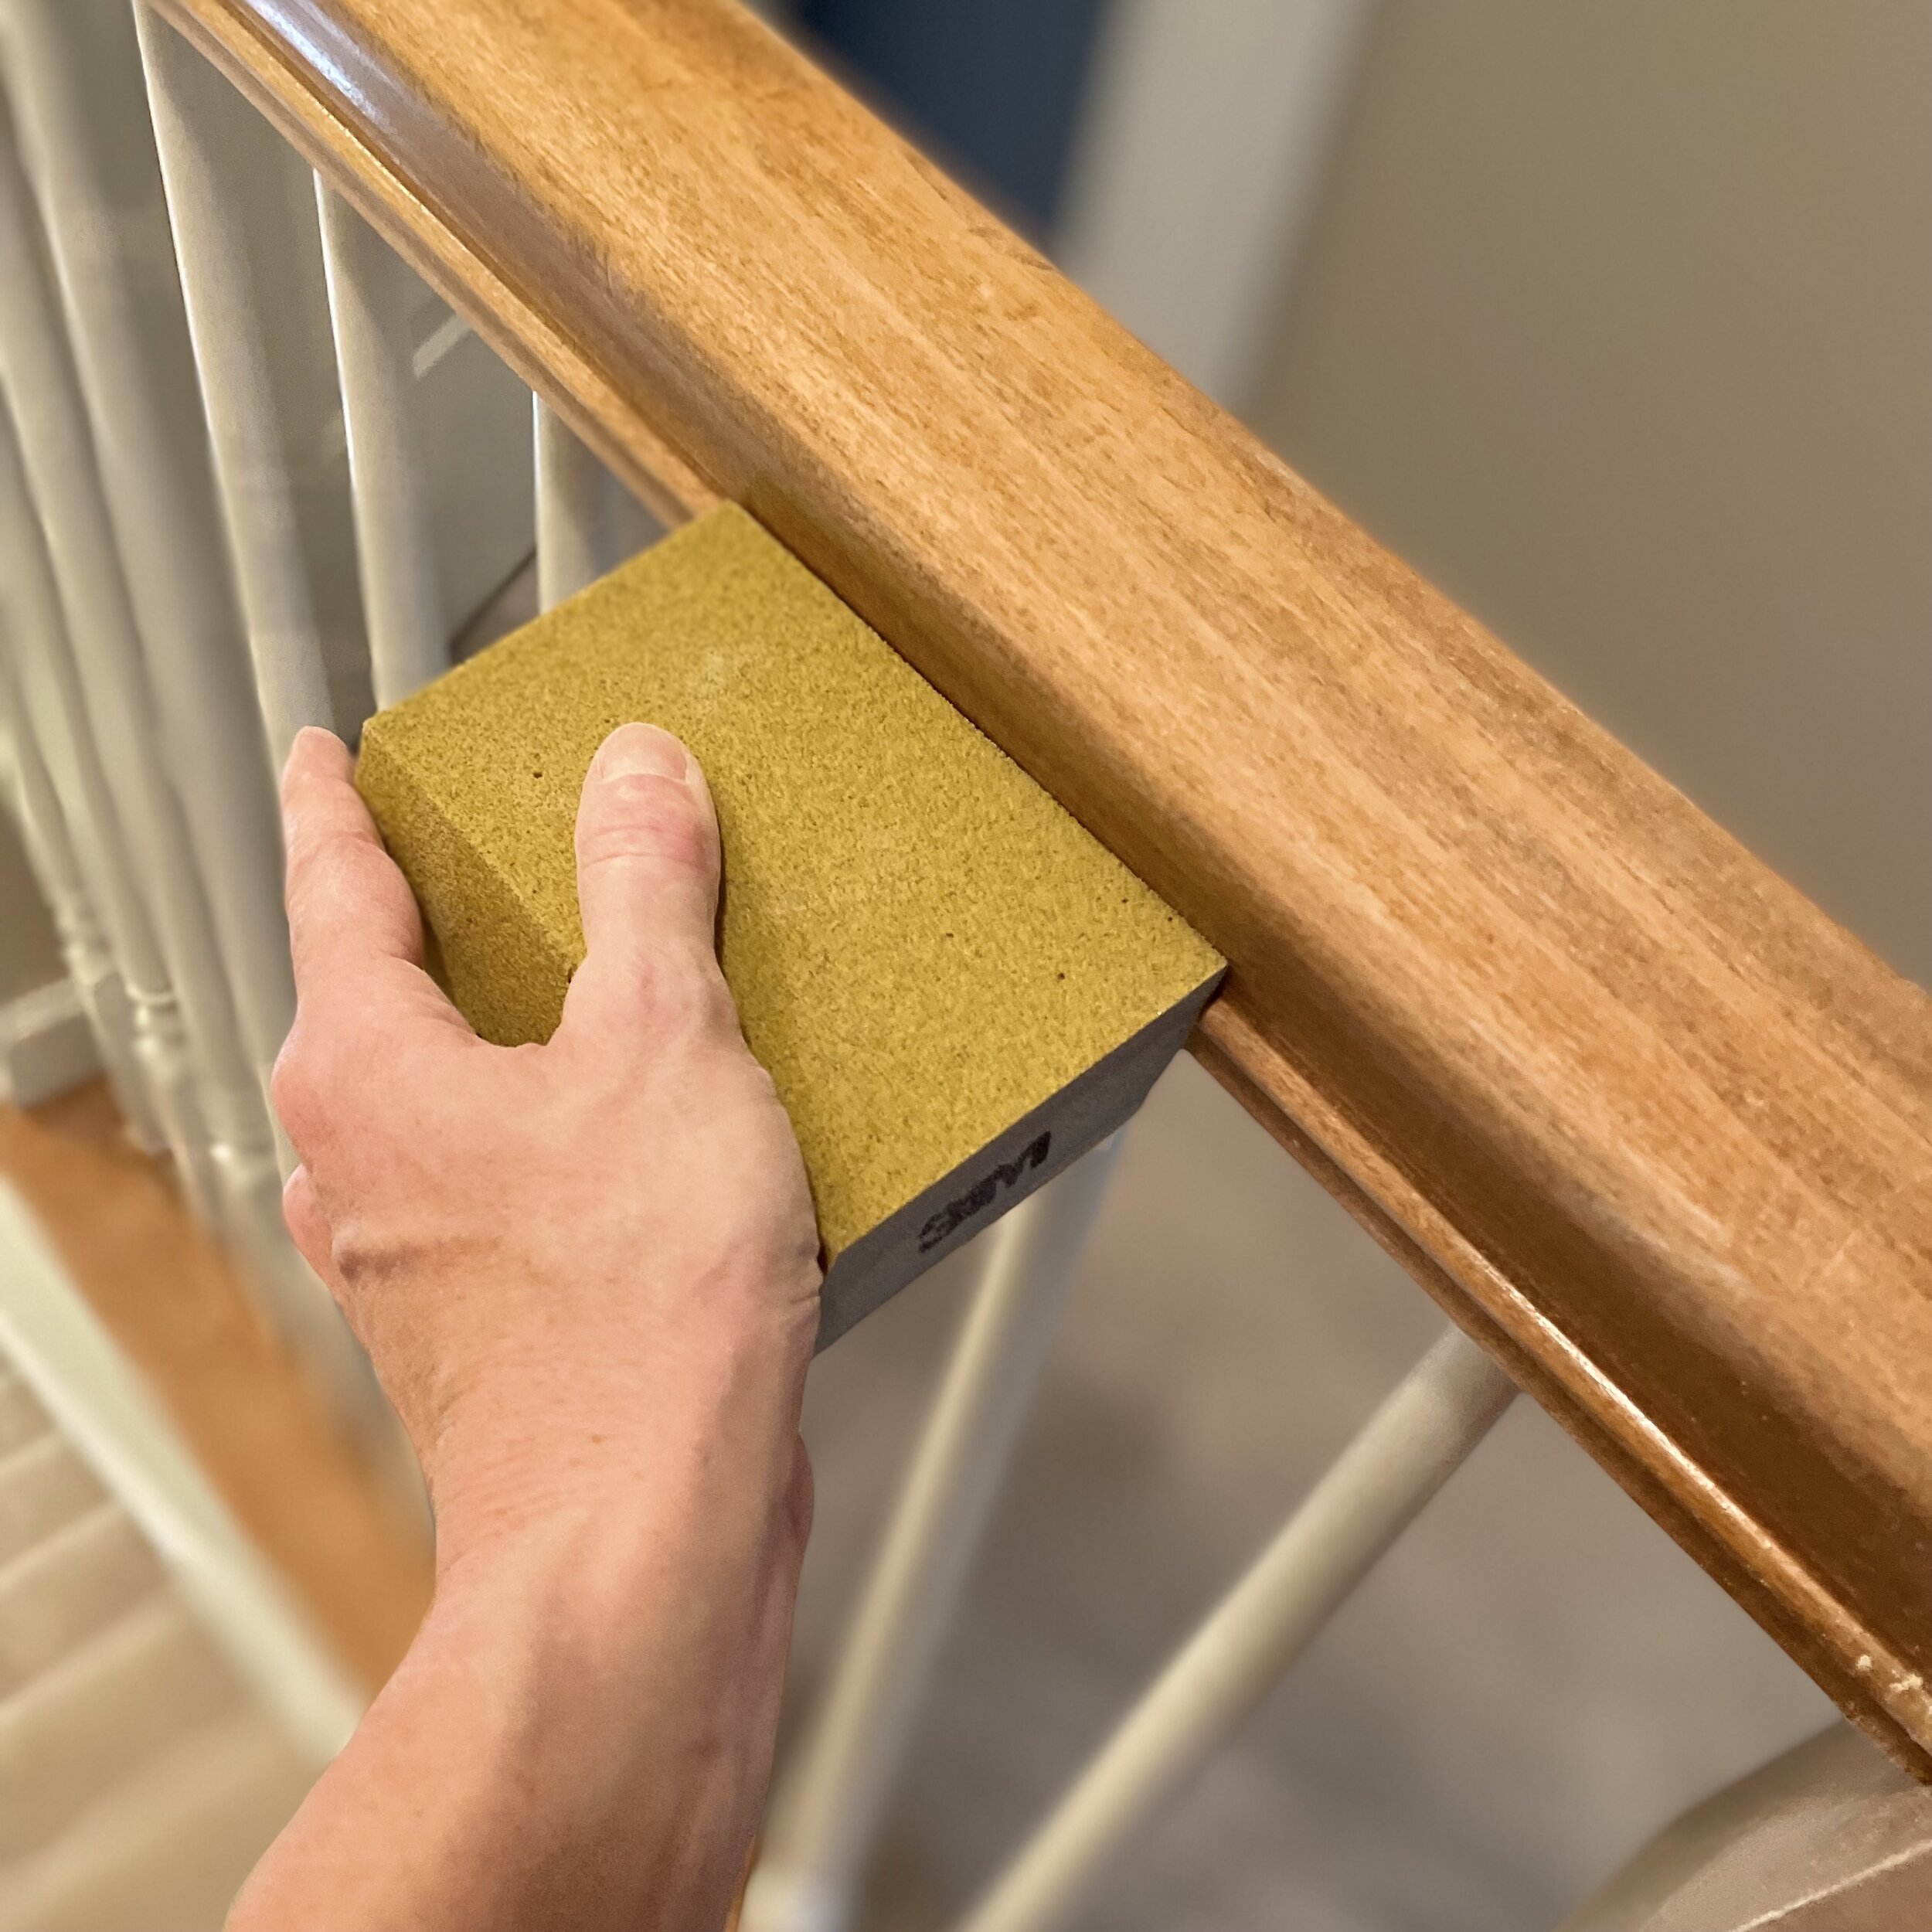
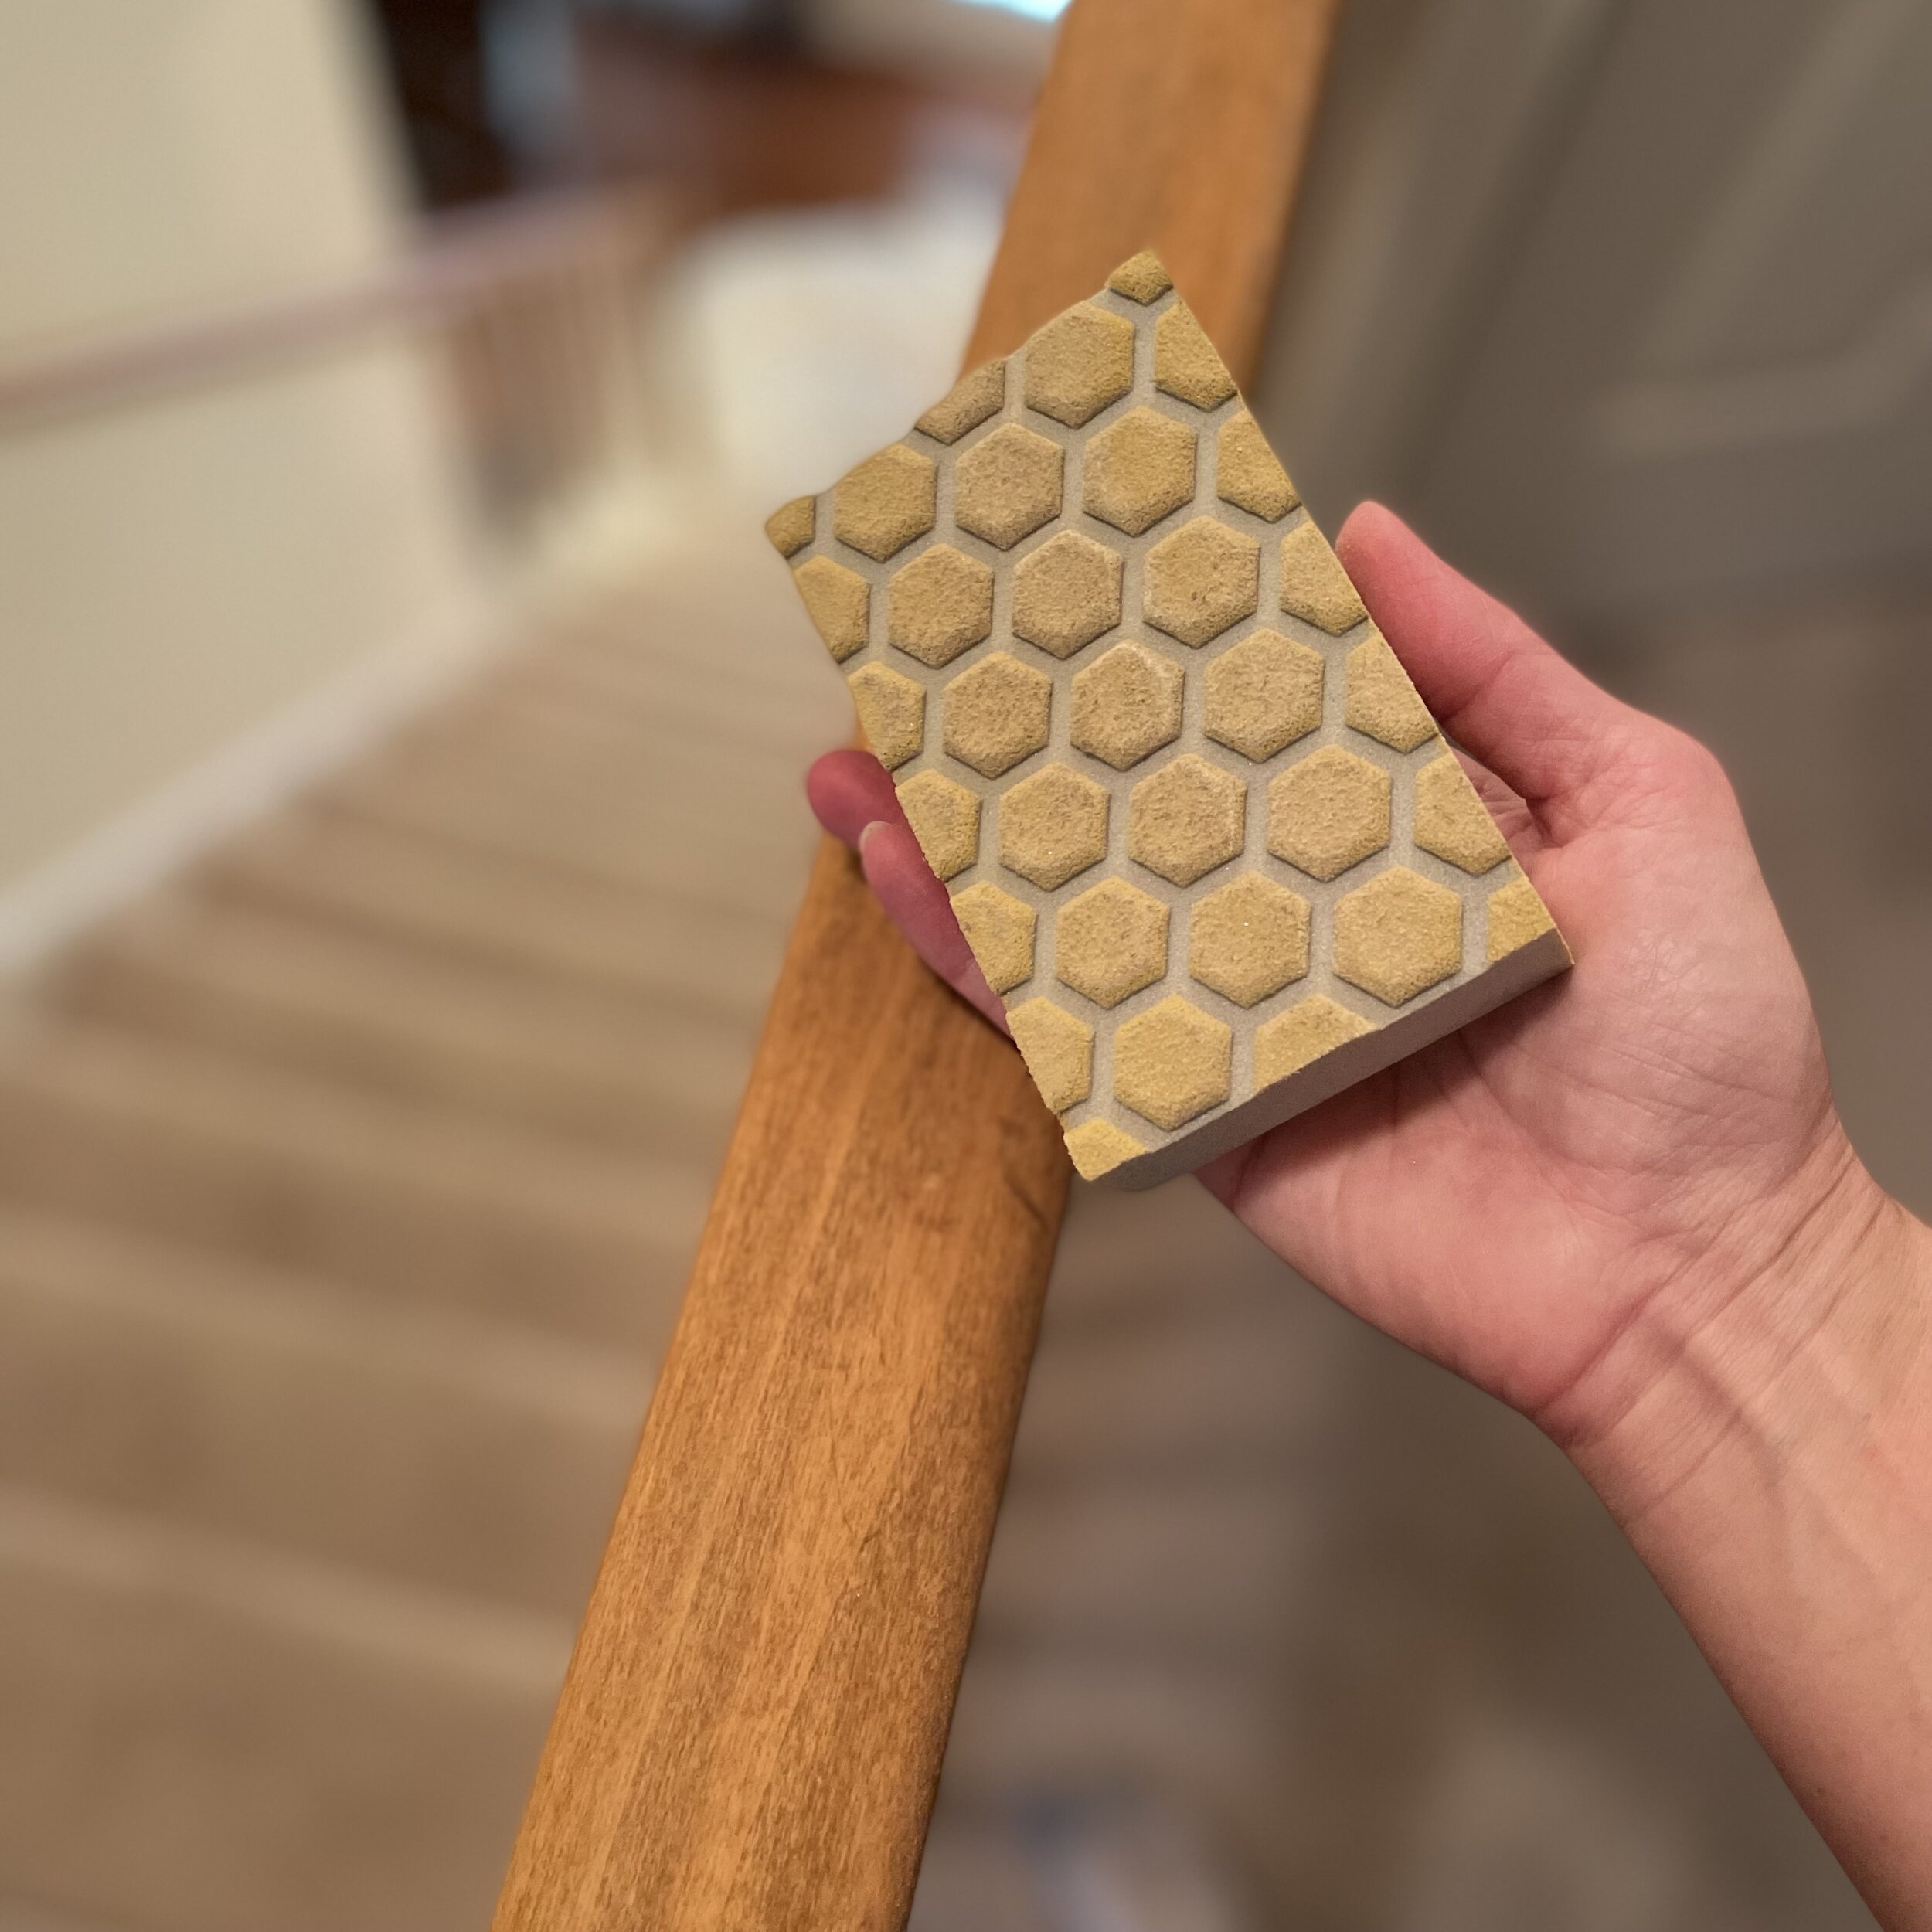
Two 120 grit sanding blocks (edge-detailing type)
one 1” and one 2” angled wall and trim paint brushes (high quality)
Tack cloth
Interior paint primer
Interior High Gloss paint
2 paint containers

Note: You can choose water or oil based paint or primer, but I chose to use water-based primer because it cleans up easily with water, dries quickly, and does not have a strong smell.
(but if you’re a risk taker and strong smells don’t bother you, by all means….have at it! …but with all the surrounding carpet, this girl wasn’t going to chance it😉)

For the paint: I used an acrylic high-gloss interior paint and primer combo. It claimed to be durable, withstand frequent washing and scrubbing, (which is important on this high-traffic area), mildew-resistant and protection from cracking, peeling and blistering. Also, one of my favorite features was the short drying time! (2 hours)
Step by Step Instructions:
Follow my step-by-step instructions for painting your oak staircase. Transform your stairs into your own beautiful work of art that you will cherish and be proud of every time you walk into your home.
Step 1: Clean Oak Staircase

Use Dawn dishwashing liquid (or generic) and a rag with warm water and thoroughly clean the rails and surface of every area to be painted or taped. Dawn helps to remove the oil and dirt from this high-traffic area and prepare the surface for the next step. Let dry and then start the next step, sanding.
Step 2: Sand Oak Staircase
Why is sanding important before painting your stairs?
If you want a good end result, sanding is a very important step that you should take the extra time to do. It removes the top finish and roughs the surface up a little to prepare for the primer and paint to be evenly absorbed and bond well. It also helps to prevent future chipping and peeling. I’m a firm believer in sanding any wood surface before painting and you want it to last for years to come without touching it up every year. DO NOT SKIP THIS STEP.